I know I’ve taken a wee bit of a hiatus from blogging, which makes me as sad as it might make you. I’ll go WAY out on a limb and say I’m sadder. I know I’ve discussed my perfectionist problems... for whatever reason I don’t want to share works in progress just the final. I mean, I will of course show the in betweens but I have this THING with wanting it to be final-final.
That being said, I need to start revealing. So without further ado…. the KITCHEN!
Here is where we started…. There was a LOT going on. With the sponge paint on the backsplash and three of the walls. Plus I always have been one to cram my fridge with lots of pictures; our counters were cluttered and we had another photo/crap wall.

For such a small room, we actually did a LOT of changing.
First on my list was getting rid of the sponge paint back splash. I liked it 7 years ago when we moved in, but it was looking dated. After investigating a few option, I settled on wallpaper. WALLPAPER?! You say? Yes, wallpaper. And here’s why. Of the options I was looking at, it was the most economical, it offered a wide variety of patterns, if I change my mind I can rip it down and change it AND if we ever do win the lottery and update our kitchen for REALZ I won’t want to cry when the contractors tear it down. Which WOULD have happened if I tiled.
When you look at it like this, it almost doesn’t look so bad!
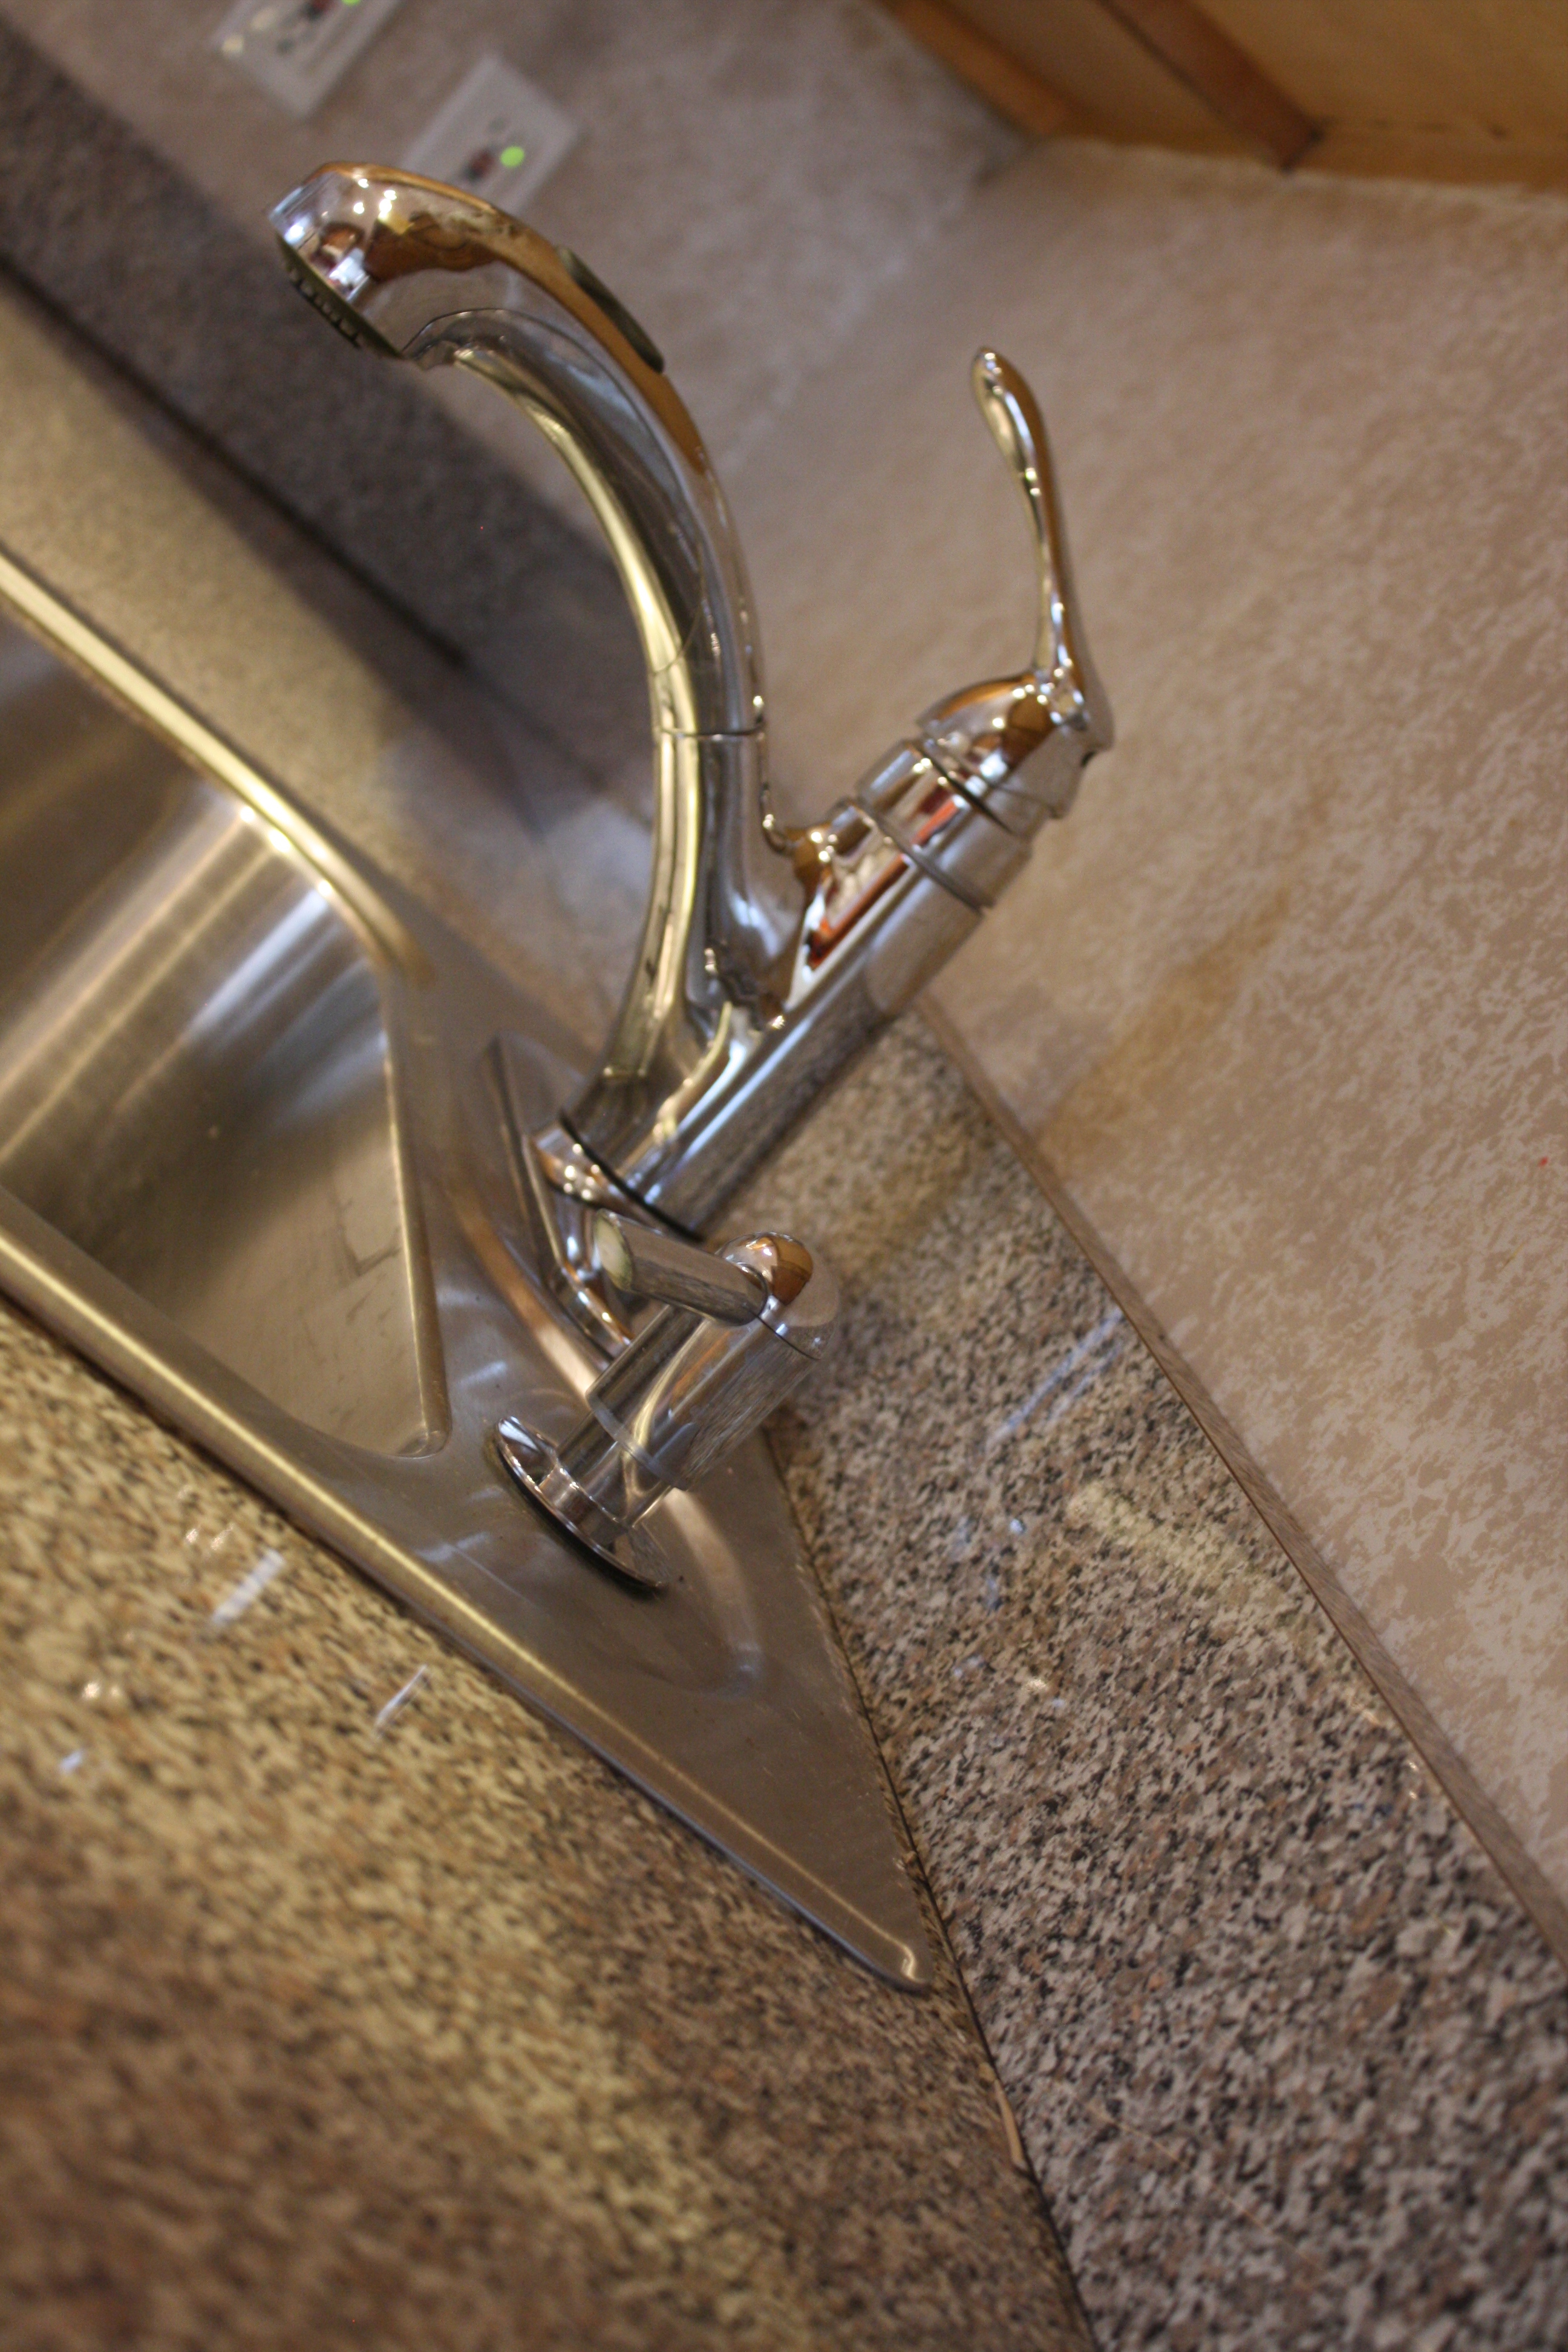
Behind the sink was the easiest break of all. Popped right off without much work on my part.
That was EASY!

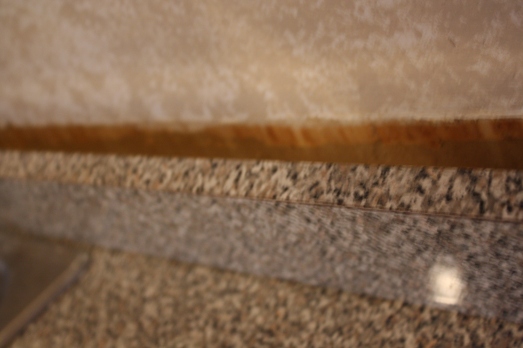
YUCK!
The other side of the counter… not so much

At this point I realized spackling was a must… What I didn’t realize was that I’d have to wait another full day if not more before I could actually HANG up the wallpaper!


halfway there

All spackled up and nowhere to go
Now comes the fun part. Getting the wallpaper on the walls. This wallpaper, thank GOODNESS was prepasted. So all I had to do was put it in water, double it back and then hang it up. Simple right?
It actually was pretty easy. The hardest part was figure out how to best trim the wallpaper so that the pattern remained intact. Once I got my system down I was good to go.

My tools

LOVE.THIS.PATTERN!

Yeah I used the sink as a trough, what of it?!

First sheet up, only 10 more to go!
I honestly cannot believe how much easier this was than the closet. I mean, SO much easier. I guess because the pieces were smaller, and it was all at chest level as opposed to standing on ladders and reaching awkwardly over my head. It was done pretty lickety-split.

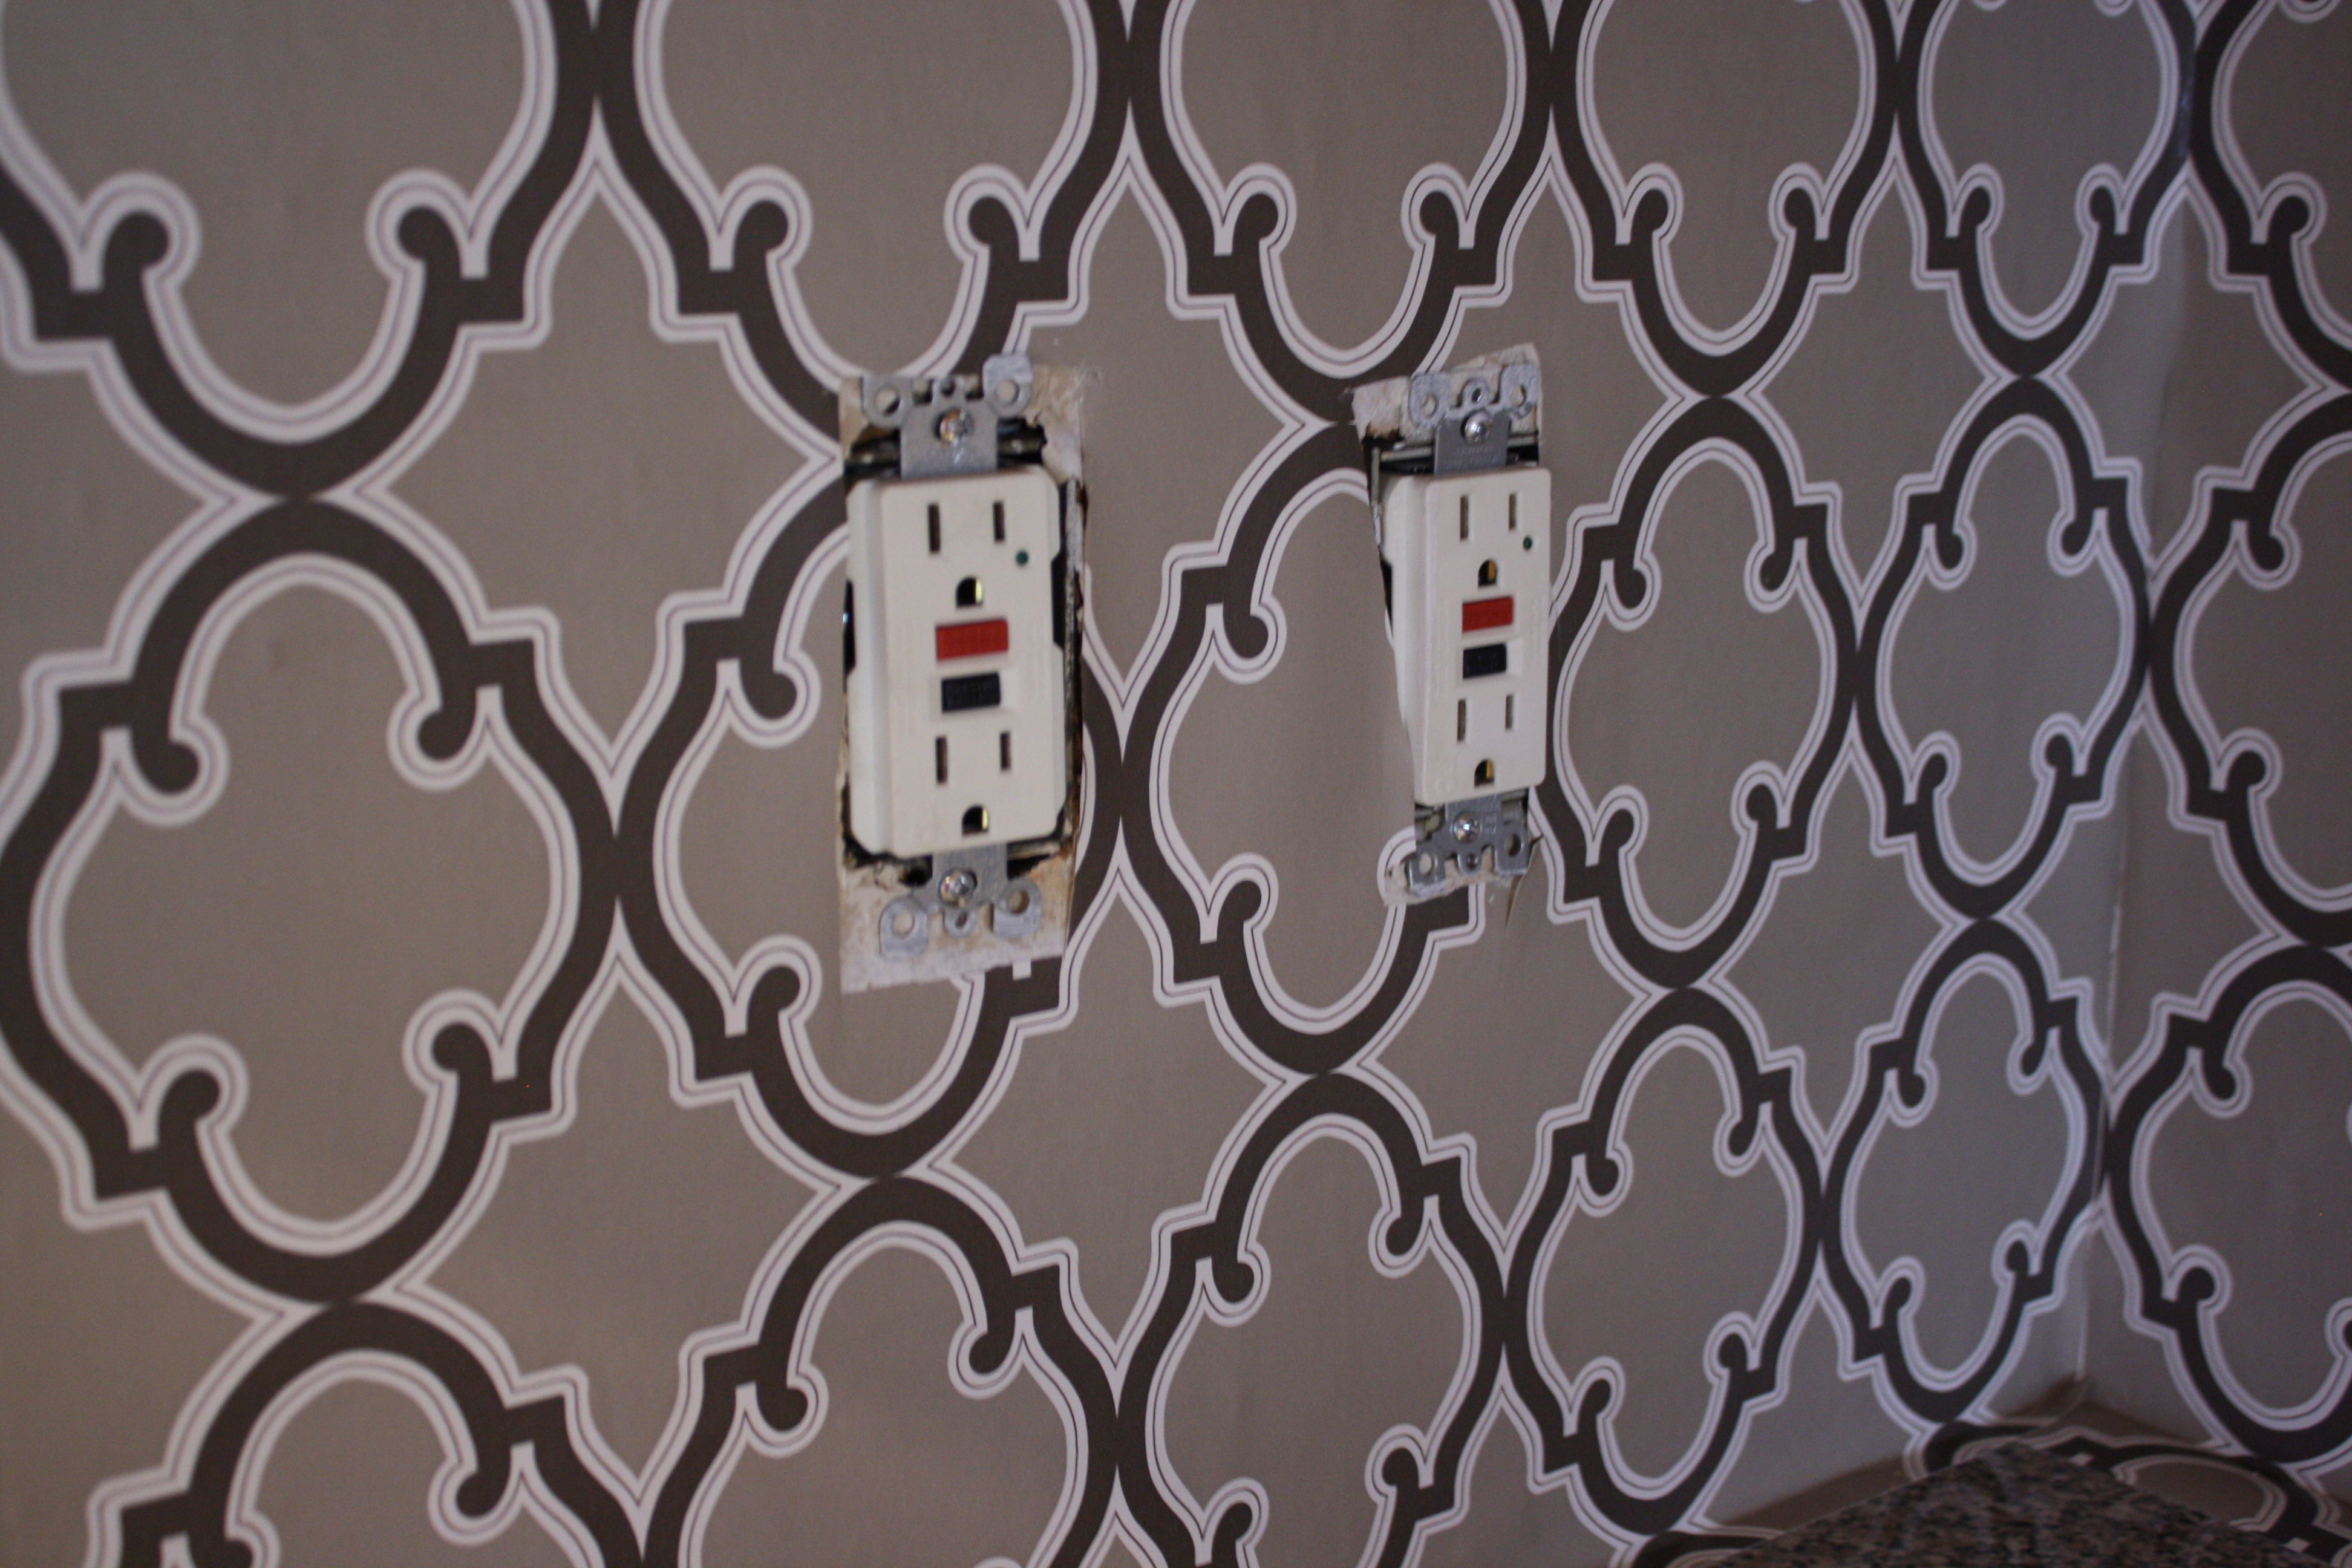
I even got fancy around the outlets


Gorgeous right?
So now it was MONTHS before we actually got back into the house. So all that sat under the tarps.

The ghetto corner of the kitchen that couldn’t quite get the tarp to cover.
And finally (I will update this with a proper after, but in the interest of getting it out there) …

Other upgrades you may notice. We got rid of the Pergo Flooring and replaced it with 4″ Wood Planks. “Heart” it. I never had a huge problem with the Pergo like my husband did. BUT I did have a problem with the uneven floors going from the front of the house and then the slant between the family room and the kitchen. All fixed!

I know I’ve said it before but i LOVE this lamp. Funny story: the light burnt out in it and we let it sit like that for about a month because we couldn’t figure out how to CHANGE the lightbulb. THANK GOODNESS for Google! Once I remembered the model name/number for the lamp (Eurofase: Pop-2) we were golden.

You might also notice I pared down on what was on the counter, namely the big-ass coffee maker. I LOVED my coffee/espresso maker however I literally never used the espresso part, and heck I needed the counter space. DONE.

I’ve also greatly pared down what is on the fridge. This is a lot more organized and calming to look at.
Of course the spice rack made the journey:
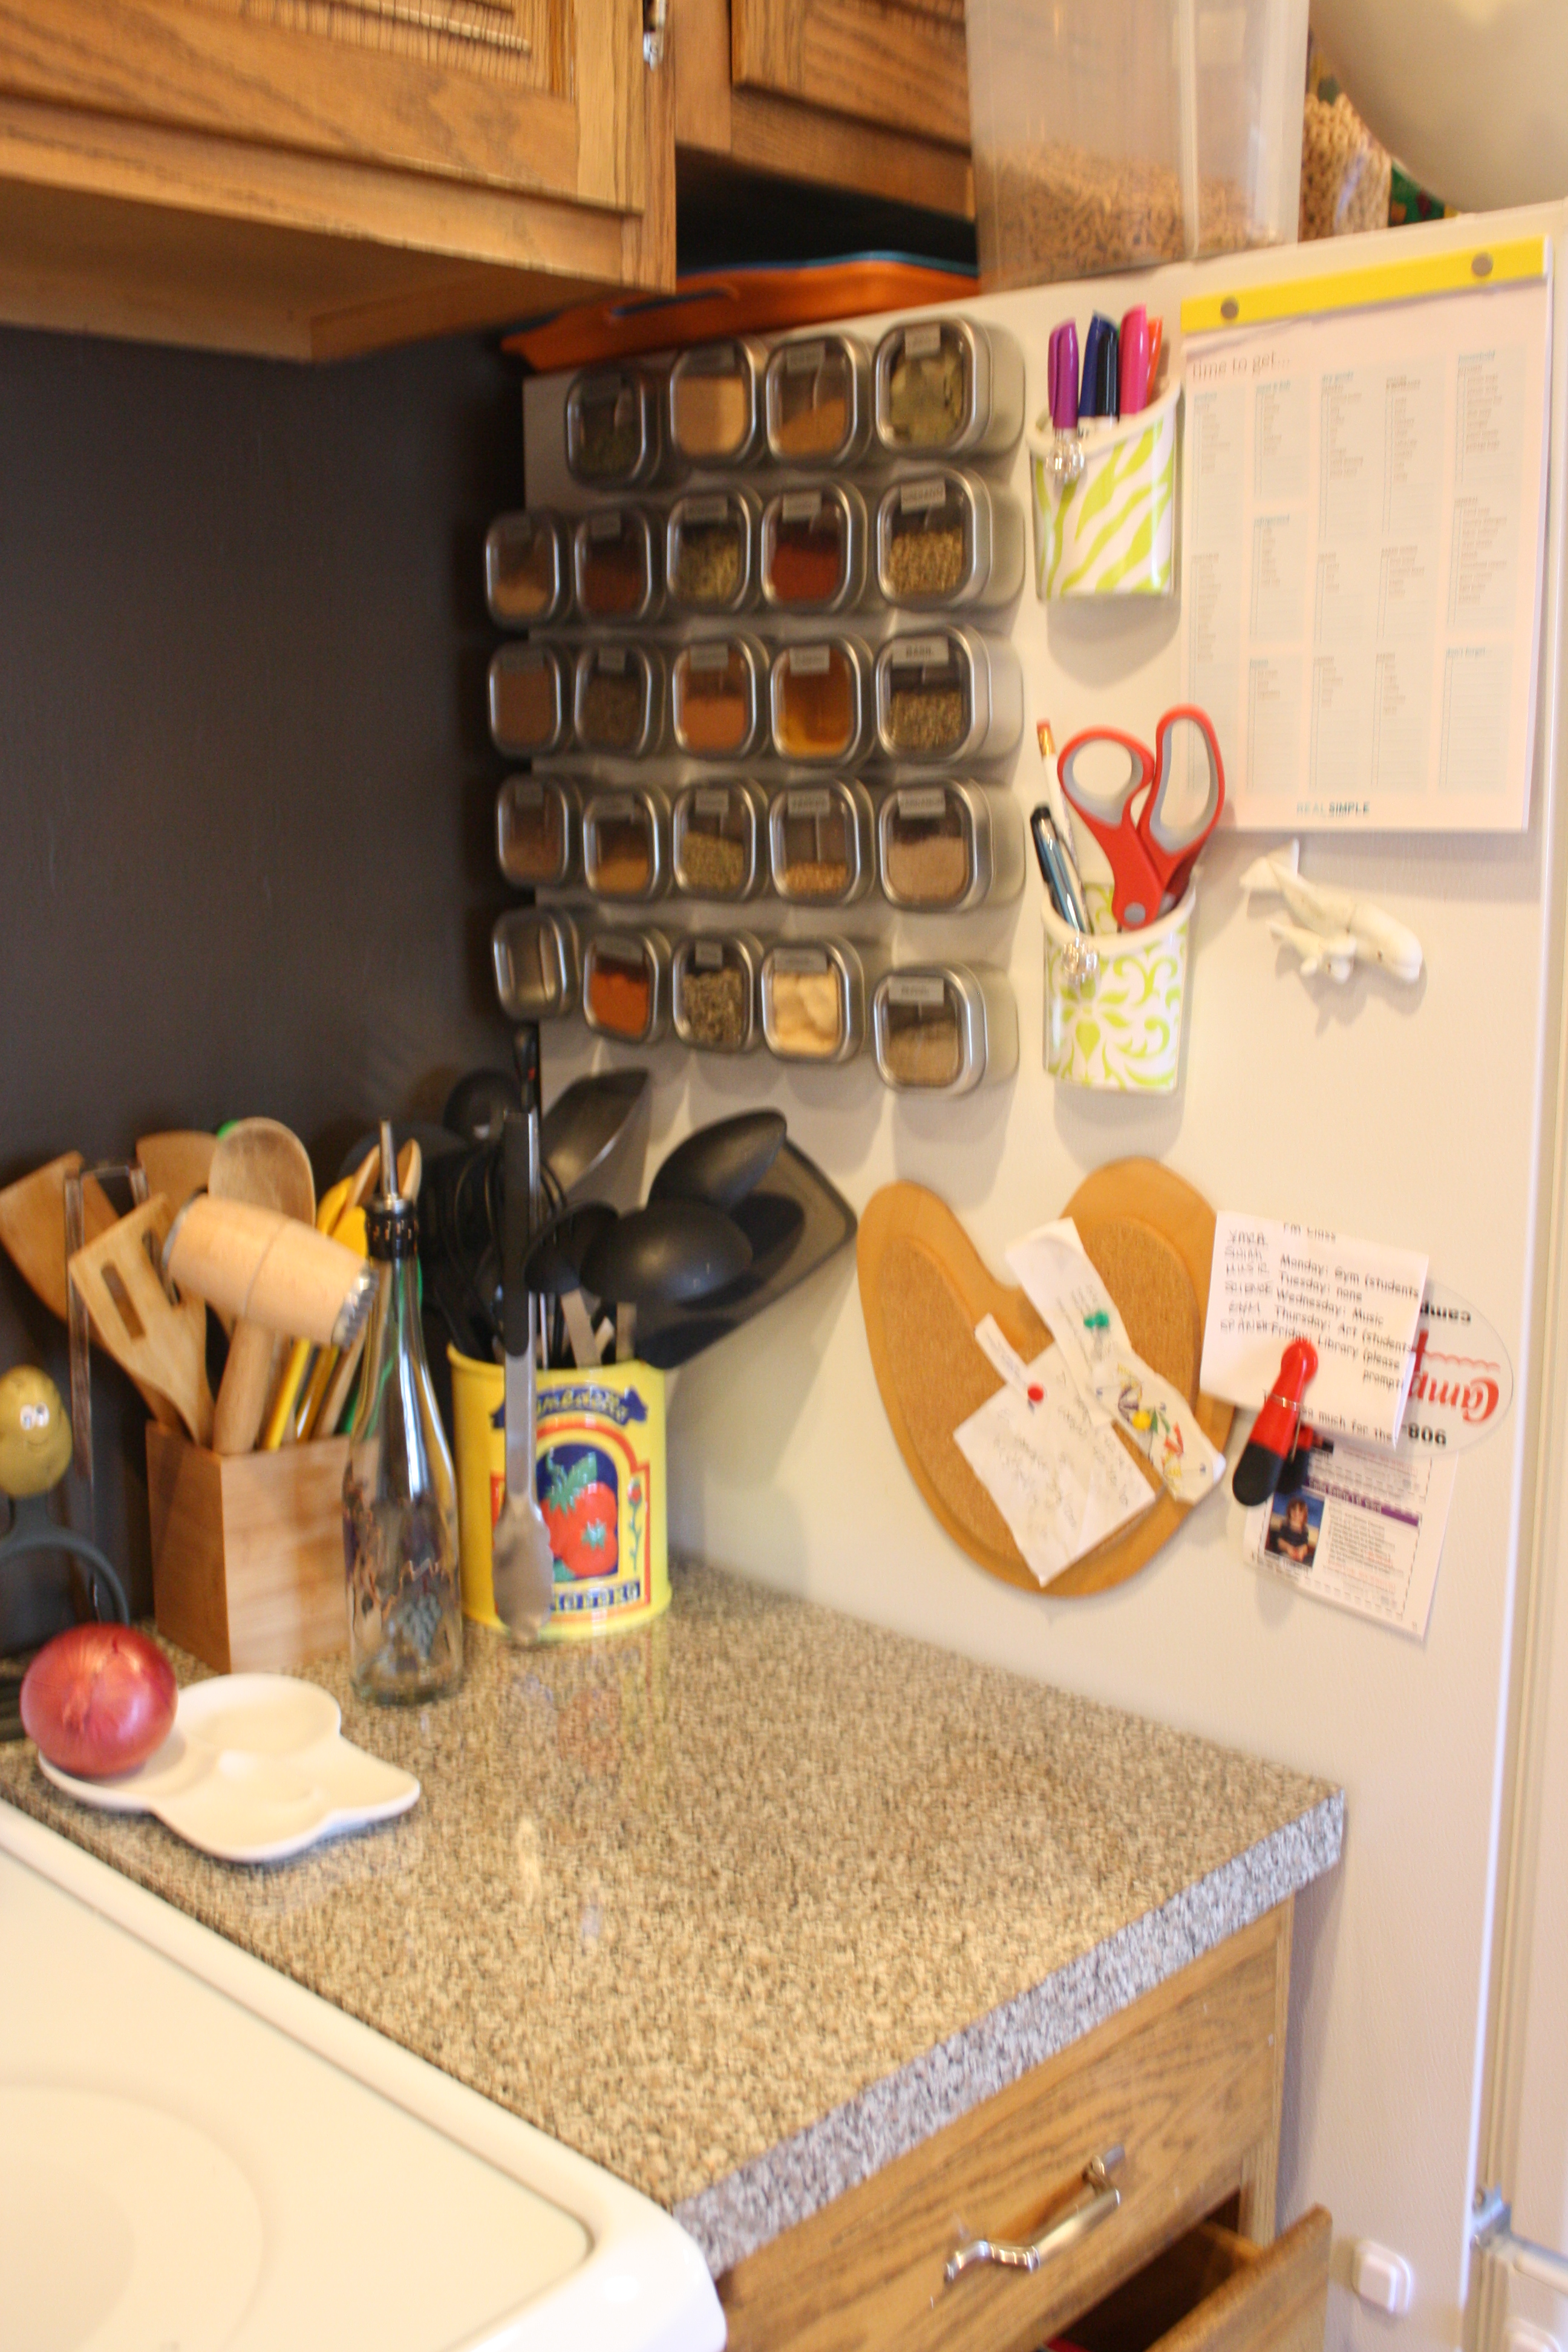
I know this might seem counterintuitive as I was trying to open up my counter tops; but the one thing I lack even more than counter space is drawer space. I saw these on EBAY and fell in love. They are soooooo splendid.

In general after making the move back from the rental, I had gotten rid of so much unnecessary kitchen junk that I actually feel really good about our kitchen and the organization in it. I still need a better tupperware solution but aside from that. We’re good!